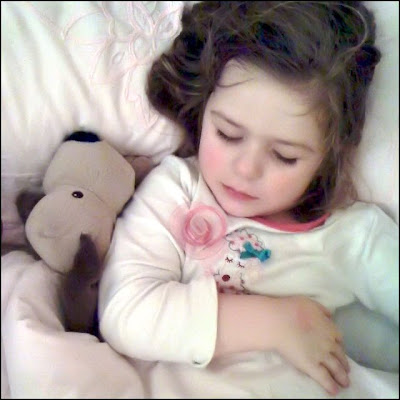
A few people left comments (and emailed me) wondering what the image would look like color (as they liked the pink in her cheeks).
So I edited the image again but kept it in color, so here are all the steps I did for todays edit:
1. The first thing I did was reduced the noise (in Photoshop - "Filter", "Noise", "Reduse Noise") and as noise is less acceptable in color images I reduced the noise more than I did yesterday
2. Because I reduced the noise more the image was a bit "softer" so the next thing I did was some sharpening
3. The two things folks commented on the most was the pink in her cheeks and the character on her pajamas so to bring those out a bit more I burned both ever so slightly
4. Added a vignette
5. Added a 2 pixel black border (stroke)
So, the same picture, the same problem (noise) and a slightly different fix.
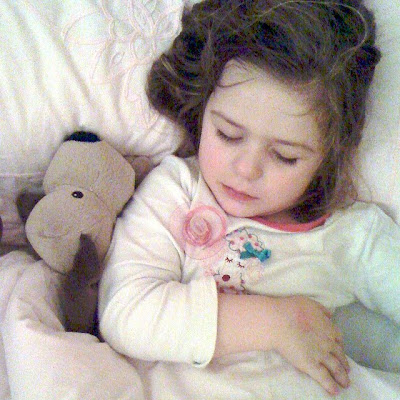
This was a more challenging edit (both today and yesterday) as the image was only 188k in size, had there been more pixels there would have been more to work with (and editing would have been easier).
Here is the origianl image:


