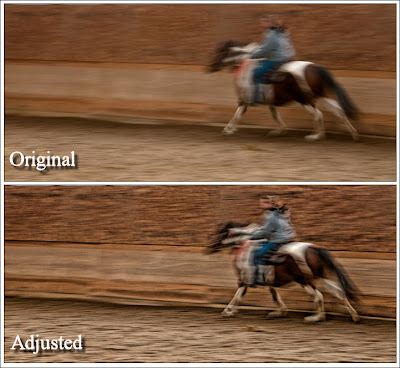
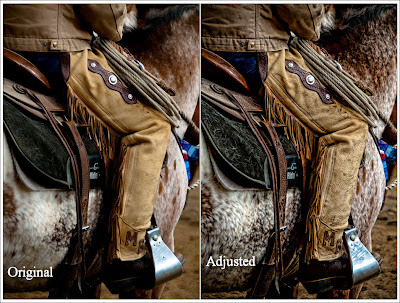
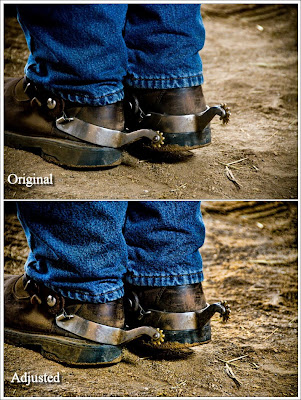
Topaz Adjust is a Photoshop exposure plug-in that offers a combination of 22 different actions, each one customizable. You can go from gritty to painted with a bunch of stops inbetween.
The interface is clean, intuitive, and has a nice hover help system, simply mouse over any of the buttons and you will get a popup bubble with an informative description of how that button works.
Within the interface you are able to take different "snapshots" of the image you are working on and then apply/customize different actions on each snapshot to determine which one you like best and want to use.
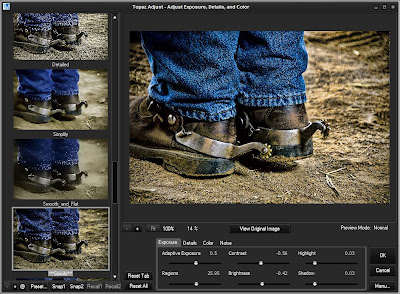 I can ramble on about the things I like about it, but Topaz Adjust is one of those tools that people can use very differently, how I use it may not be how you use it. So check it out, you can view the online manual to learn more about it, and download it for a free 30 day test run. Get the Windows version here, and the MAC version here.
To see it in action you can watch one of the three video tutorials, an overview, general functions, and noise reduction. One of the cool things about these videos is that Topaz Labs allows you to download the original image and "play along".
In closing I simply want to say that this is a plug-in I am very happy to have added to my toolbox and I think you will be too.
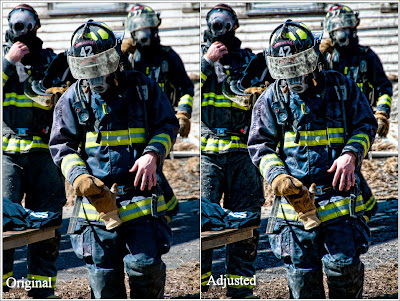
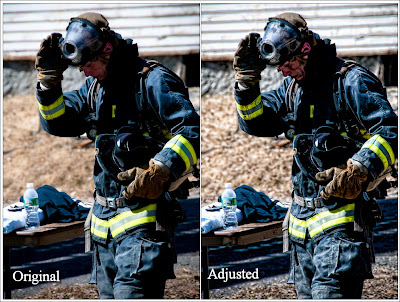
Because there are so many variables, I could not show you all the image possibilities, but here are some images I tweaked with Topaz Adjust.
Click on any image to view larger and in a new window.
Firemen in action:
Cowboy up:
