We recently did a commercial shoot and used the
ColorChecker Passport from
X-rite for the very first time and I can tell you this, I wish I had started using this a
LONG time ago.
It could not have been easier to use or worked better at giving us perfectly matched colors in our images.
We were shooting new products for
our clients catalog/website and it involved almost 100 images in a wide variety of colors.
Using the Lightroom "
color picker" to color correct an image will allow me to apply the changes to the other
LIKE images, but once I try to apply the changes I made to a primarily purple colored product to an image with the primary colors of yellow or red it just doesn't cut it, so Iend up creating and applying color correction based on the primary colors of the photograph.
Labor intensive at the least, with a bunch of frustration stirred in.
With the
ColorChecker Passport you correct one image and then simply sync up every other image shot under the same lighting conditions, regardless of the images dominant color.
It was
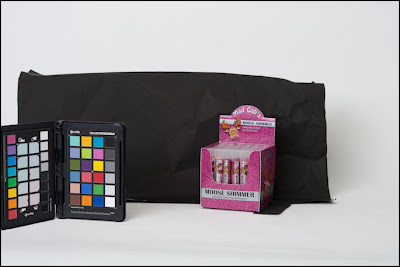
SWEET.This image is one of the products being shot on white seamless with the
ColorChecker Passport in the frame (
the black cinefoil was used to block shiny reflections caused by the white paper), all the images were imported into Lightroom, we color corrected this image and because all were shot under the same lighting conditions we simply "
synced" all other images with this and we were done (
with color management) with everything we shot that day.
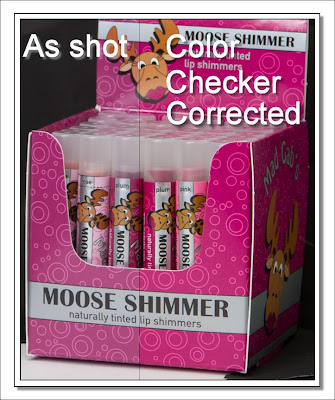
This image shows a side by side comparison of a product shot "
as is" and color corrected using the
ColorChecker Passport, clicking on it will open the image larger (
in a new window) so you can better see the comparison.
You have heard me preach in the past about good time management, studio efficiencies, and basically being as smart as you can with the one thing you have the most control over,
TIME.
The ColorChecker Passport is now at the top of my list when it comes to efficient workflow.
Just to show you it could not be easier, here are the instructions from the X-Rite website:
* Open the Raw image of the ColorChecker target that you previously shot.
* Do not edit the image. In fact, any edits will be ignored when you begin building the profile.
* Under the File menu, select Export… When the menu appears, select “ColorChecker Passport” from the list.
* Enter a name for the profile and click the Export button.
The new profile will be created automatically and placed in the location where Adobe stores DNG profiles for Camera Raw and Lightroom. You will need to re-launch Lightroom before you can select the new DNG profile. After restarting Lightroom follow the steps below.
* With an image selected, go to the Develop module.
* In the right panel, scroll down to Camera Calibration and select the Profile pull-down. Choose the new DNG profile you created above from this list.
* To apply these settings to an entire series of photos select all the other images you shot in the same lighting conditions and hit "Sync".
When you can give all the instructions a user needs in under 10 lines of text, you have a product that is easy to use.
But it's more than that, it will give you perfect color too. What a great combination.
Purchasing the ColorChecker passport will say many things about you, like getting the color correct is really important... and that you are smart with both your time and your money.
I will leave you with a product demonstration video for Lightroom users, you can find the Photoshop version here. (And as usual subscribers will need to return to the blog to watch the video)
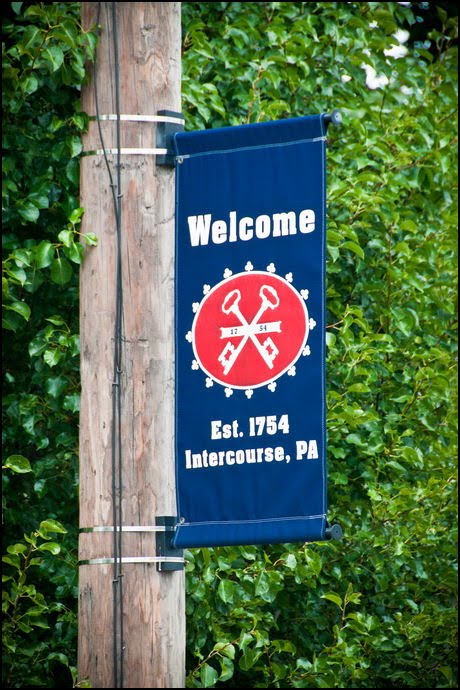 Yup, we went to Intercourse PA yesterday, once my girls saw the name of the town there was snickering and laughing all day long. It also didn't help that almost every darn business there named themselves after the town!
 Well, today we had off to Blue Ball and who knows, we may end up in Paradise... Pennsylvania that is.


